Showing posts with label wood. Show all posts

Monday, September 12, 2011

Lookit what mei hubby built me!

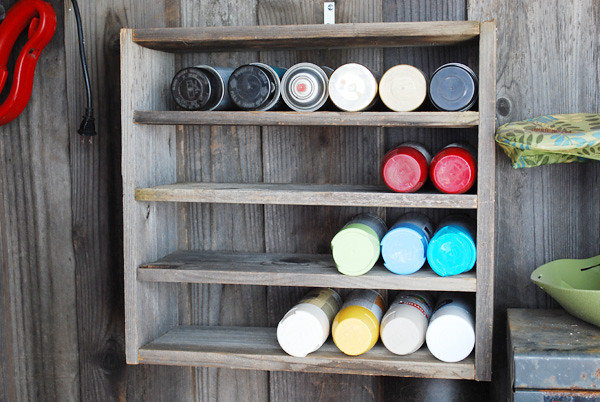
This spray paint storage rack now hangs in the shed he built a few weeks ago:
0909paints
Of course, the first thing he said after showing it to me was "just because it's half empty, doesn't mean we need to fill it up." Awww, he's so cute - now I just need to get the other half of my stash and put it up there ;D

Thursday, September 8, 2011

Frame Jewelry Display

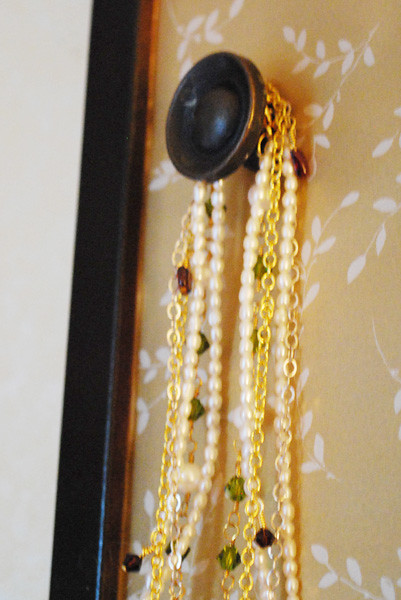
You know how sometimes the glass that comes with a photo frame breaks? And you don't want to throw that frame away so you stash it for months in various places, until your husband is all "hmmm, are you going to do something with this thing?" And then a friend gifts you their old coffee table but one of the ten knobs is missing and you're all "Whoa! Frame + knobs? Can I say jewelry display?"

Okay, so maybe you haven't thought this, but I did, and here are the results.
0903display1

I took the frame and painted it in Oil Rubbed Bronze, then covered the backing with gold dust vellum paper from my favorite paper store.

The backing was a piece of laminate that my husband had leftover from a project and he cut it to size for me. Once the laminate and vellum were adhered, I marked a grid of nine spots on the back - three across, three up and down. My awesome husband drilled the laminate and paper and we bought some new screws because the ones that came with the knobs were too long.

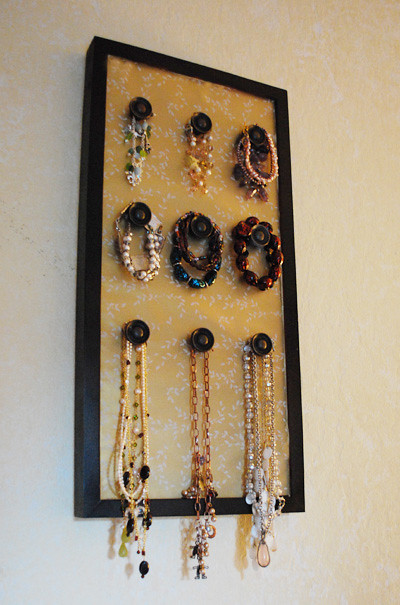
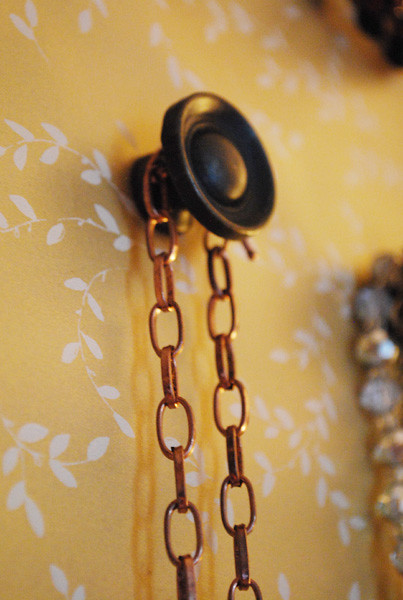
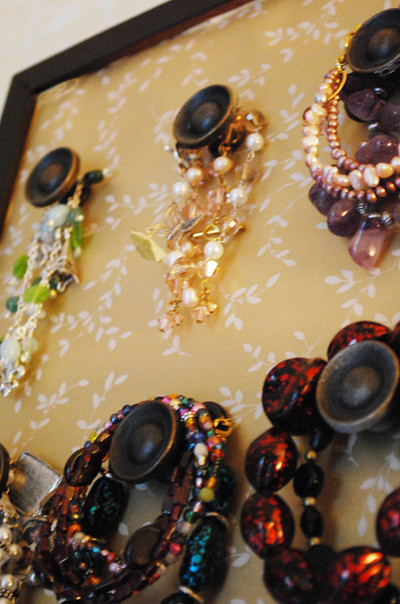
I now have a place to display some of my bracelets and necklaces:
0903display4

0903display3

0903display2

The total cost of this project was solidly under ten dollars. The paper was $2.75 (plus tax) and the new screws/washers were under $5. I had the frame, we had the piece of laminate and we had the nine knobs from my craft table project.

I hope you have enjoyed my repurposed photo frame craft!

Transformation ThursdayPhotobucket
HookingupwithHoHWeekend Bloggy ReadingThe Shabby NestmonogramPhotobucket

">
UndertheTableandDreamingTip Junkie handmade projects

Thursday, August 18, 2011

Our new mantel

The living room mantel is the focal point of our main living area. You see it as soon as you come in the front door - here it is decked out for spring back in March:
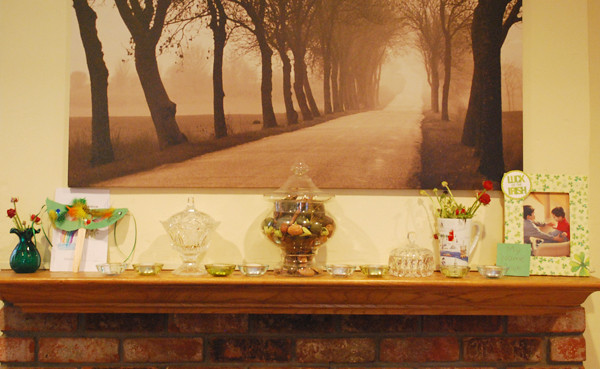
0313greenmantel
The problem is, the "wall" above the mantel was just a sheet of foam over the brick, which goes from floor to ceiling. We discovered this when we tried to hang a picture and made a huge hole instead.

We decided to tear down the foam and put up some sheetrock instead - at the same time, I really hated the current mantel, so my husband graciously built me a new one :D

Below is the 2x4 that is nailed to the brick wall - the mantel is attached to this and it serves as support.
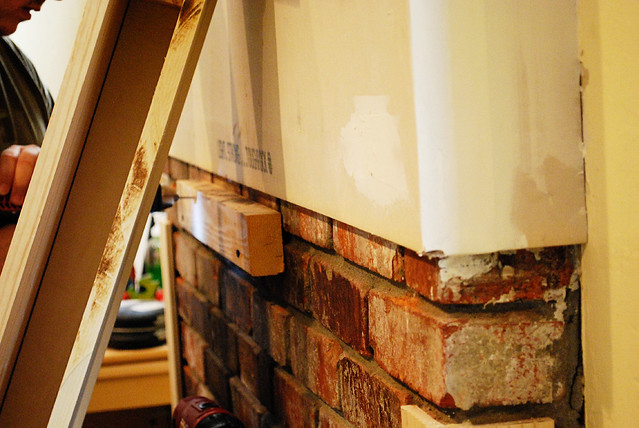
0814mantel

Checking to make sure the fit is perfect.
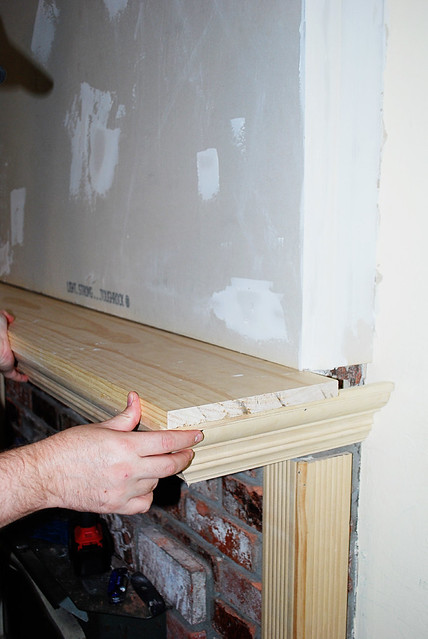
0814mantel4

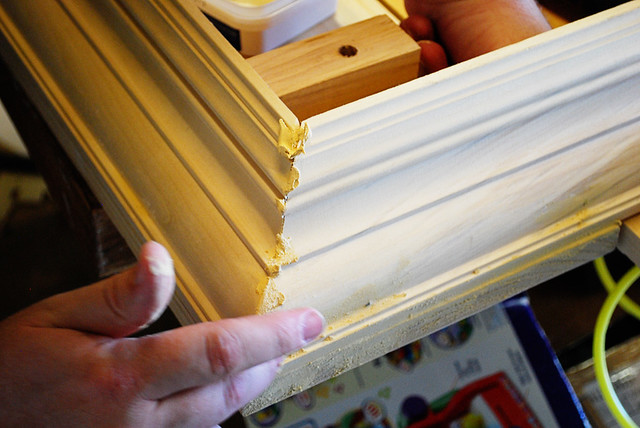
Applying wood putty to the rough edges and nail holes:
0814mantel2

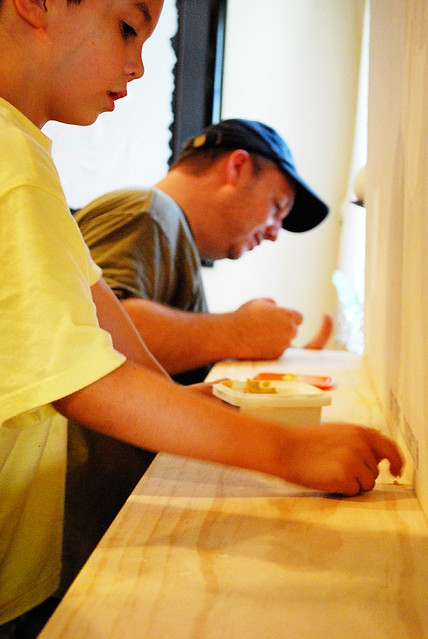
Our oldest was a very big help!
0814mantel6

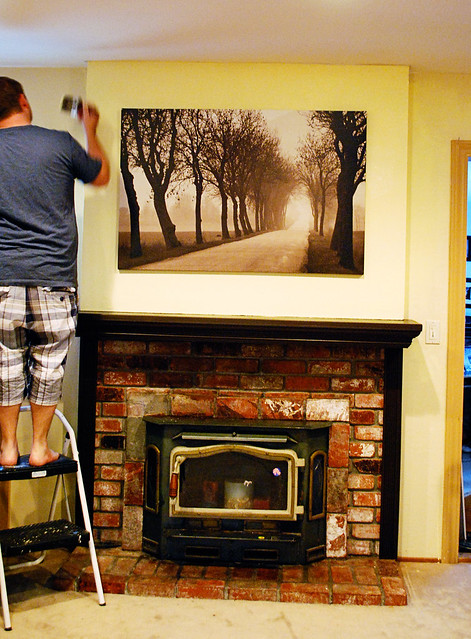
Painting the sheetrock to match the rest of the walls - we chose to paint the new mantel and frame in a dark chocolate brown:
0814mantel8
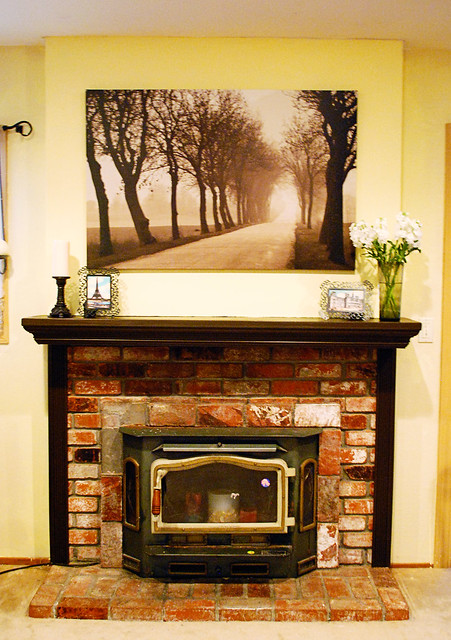
The rich brown is a very close match to our TV console, coordinates with the large IKEA picture above, and is a good addition to our warm-toned living room.

Here is our new mantel area dressed up with some vintage Paris pictures and pretty flowers:
0814mantel91
I LOVE this area, it looks brighter, cleaner and so much nicer - hope you enjoyed our little project!


Somewhat Simple
The Shabby NestWeekend Bloggy Reading


monogramDesigner Garden border="0" href="http://tatertotsandjello.blogspot.com"
target="_blank">src="http://hadfield.smugmug.com/photos/825895175_xmTVA-O.jpg"
alt="Join us Saturdays at tatertotsandjello.com for the weekend wrap
up party!" />

UndertheTableandDreaming